This is every boss in Phantom Blade Zero ranked from worst to best: all 56 distinct fights, from the Prologue tutorial to the true ending, including every optional boss, the Long Pillar duels and the secret fights. For each one you get where to find it, whether it's required, how to beat it, what it drops and the tier it earns.
The list builds up from the bottom. F tier comes first, S tier comes last, and the number one boss is only revealed at the very end. If you just want a fight guide, use the table of contents to jump to the boss you're stuck on.
How the bosses are ranked
Every boss is judged on the same five things:
- Moveset: are the attacks readable, and are they fun to parry and dodge?
- Fairness: when you die, is it your mistake or the boss's?
- Difficulty done right: hard is good when it rewards perfect timing, not when it's just a big health bar.
- Design and spectacle: does breaking this boss feel like an event?
- Phases: multi-phase fights earn credit only when each phase plays differently.
Copies and add-heavy fights are ranked down. Three fights are counted as one entry each: both You Loong fights, the Prologue cart and Great Waterfall fights with The Hunt, and all five Long Pillar duels with the same masked swordsman. The Prologue Zuo Shang duel and the true final boss are ranked separately, because they are different fights in different arenas.
| Tier | Bosses | Ranks |
|---|---|---|
| S | 5 | #5 to #1 |
| A | 9 | #14 to #6 |
| B | 13 | #27 to #15 |
| C | 13 | #40 to #28 |
| D | 11 | #51 to #41 |
| F | 5 | #56 to #52 |
Rules that work on every boss
- Blue flash = parry. A perfect parry deals big Sha-Chi (stagger) damage.
- Red flash = dodge. It can't be blocked or parried. A perfectly timed dodge triggers a Ghoststep: you teleport behind the boss with a short slow-mo window for a free punish.
- Black or grey flash = killer move. Blocking or parrying it drains most or all of your Sha-Chi. Dodge it.
- Break the Sha-Chi bar, then swap weapons mid-combo. Swapping extends the combo and refills your own Sha-Chi.
- Phase checkpoints: on multi-phase bosses, dying in phase two usually restarts you at phase two.
- No farming: enemies don't respawn, so a boss drop can't be farmed in one playthrough.
F tier: the worst bosses (#56 to #52)
#56: Zuo Shang, the Order's Shadow Sovereign (Prologue duel)
Where: Prologue, the opening tutorial duel. Required.
How to beat it: Follow the on-screen prompts. Don't swing into his sword strings; let each string finish, parry the hits you can, then counter. The fight is scripted to end in a cutscene, so use it to learn blue versus red flashes.
Drop: None (cutscene). Verdict: F tier. It's a lesson, not a boss fight. But remember the name.
#55: Acolyte Guhe
Where: Meigu Lake, the scarecrow on the East Dock island. Optional.
How to beat it: Parry, punish, reset. His only danger is trading hits with you, so never swing into an attack. Short duel, nothing new.
Drop: Guhe's Venom Mask (one of the four Acolyte Masks for the Four Guardians' Mirror). Verdict: F tier. A generic acolyte with no identity of its own.
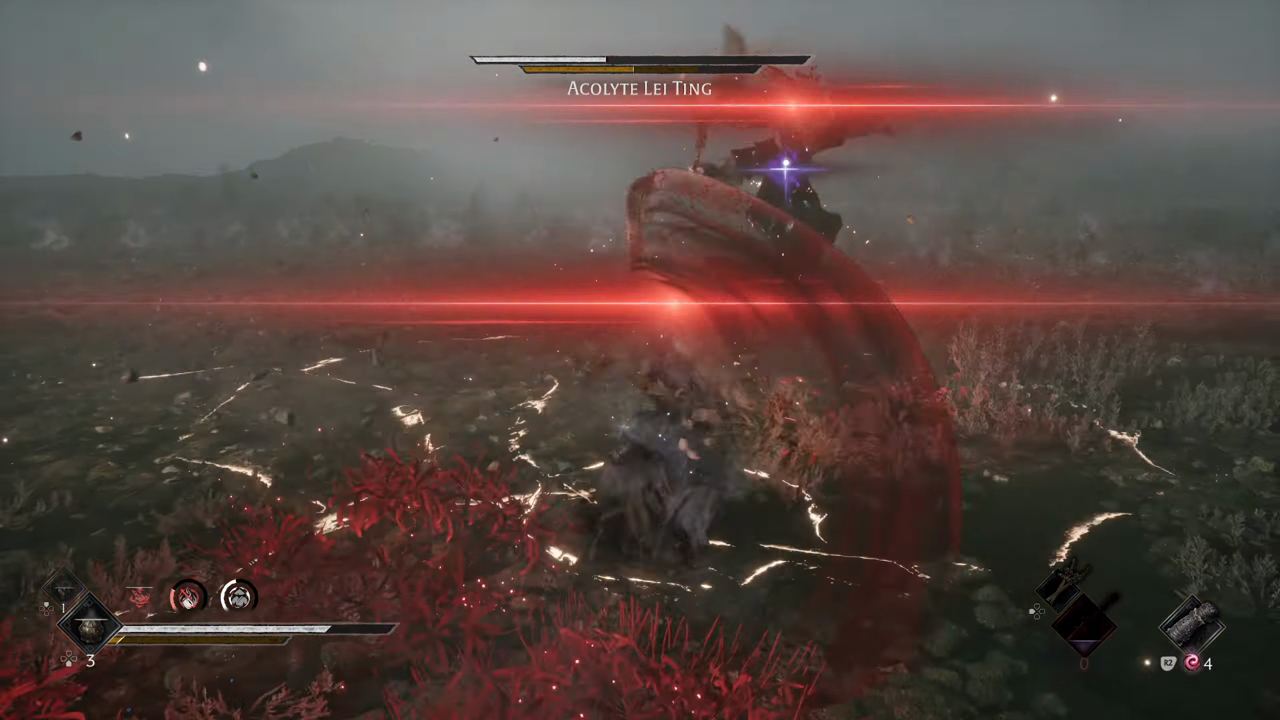
#54: Acolyte Lei Ting
Where: Pangzhen, below Old Man Gen's House (available after Flame). Optional.
How to beat it: Parry blue, dodge red, break his Sha-Chi, swap weapons. The basics end this quickly.
Drop: Leiting's Thunder Mask. Verdict: F tier. The reward is more memorable than the fight.
#53: Acolyte Yanru
Where: Village of Lu, the scarecrow below the Terraces. Optional.
How to beat it: He has one trick: rush in mid-attack and his fire blast catches you. Wait for the blast to finish, then parry his strings. A few parries break him wide open.
Drop: Yanru's Blazing Mask. Verdict: F tier. Fire gives him some flavour, not enough.
#52: Grief-Stricken Jin
Where: Meigu Lake, Village of Lu Shallows Dock. Required.
How to beat it: It's a group fight. Lock on to Jin and ignore the others, and they hit you from behind. Clear the adds first, then turn on Jin: one-on-one he's a basic parry, break, swap duel.
Drop: Embroidered Shoes (Soul Temper material for the Scarlet Wraithblade); Rouge Box if you're on the A Brother Once More tale. Verdict: F tier. A messy brawl with a plain boss in the middle.
D tier: forgettable fights (#51 to #41)
#51: Iron Butcher, the Frenzied Brute
Where: Mountain of Imprisonment, near The Lady's Path bell. Optional.
How to beat it: Never trade hits with his huge cleaver swings. Dodge late, punish the long recovery, and his Sha-Chi bar breaks. It's the Jagged Steel fight again with bigger numbers.
Drop: Iron Butcher Mask (Soul Temper material for Jagged Steel). Verdict: D tier. A late-game rerun of the first brute, with zero surprises.
#50: Xie Qiudong, the Divine Healer
Where: Pangzhen part 2, the Green Serpent House. Required.
How to beat it: His gimmick is healing: back off and his health bar climbs back. Keep constant pressure and the heal never fires. After that he's a plain parry check.
Drop: Everflow (medicine). Verdict: D tier. One trick that punishes safe play.
#49: Corpse-Eating Xue
Where: Mandate Encampment, behind a locked door. Optional.
How to beat it: His fire breath covers a long line in front of him. Don't combo into it; step off the line, wait for a clean opening, then parry and punish.
Drop: No item; beating him starts the tale Xue, Admirer of Heroes. Verdict: D tier. Great name, forgettable fight.
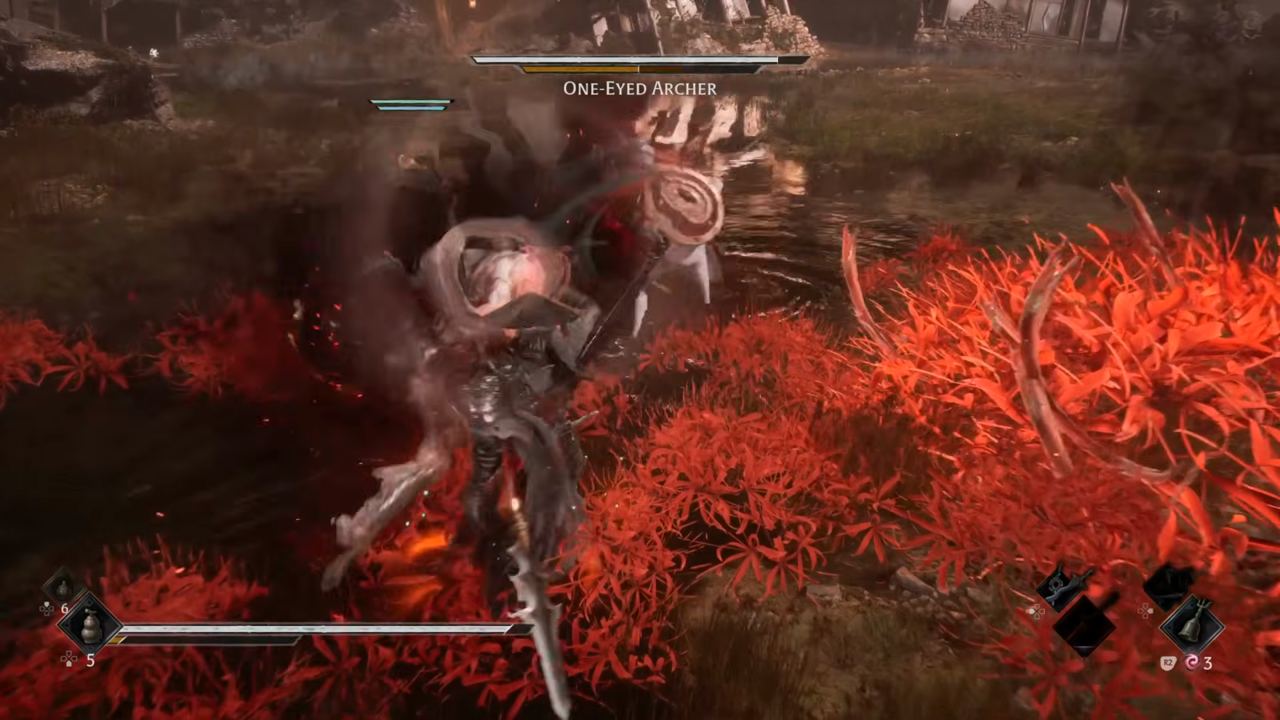
#48: One-Eyed Archer
Where: Meigu Lake, One-Eyed Isle Dock (the easternmost island). Optional.
How to beat it: The whole fight is a chase. Dodge the arrows to close the distance, then stay glued to him: he has very little up close.
Drop: One-Eyed Bow (Phantom Edge); progress on Master of the Misty Waters. Loot the ruin behind the arena for Sharpshooter's Eye. Verdict: D tier. The bow beats the fight itself.
#47: Wan Jun, the Coppermaul
Where: Mandate Encampment, behind a chained gate. Optional.
How to beat it: Slow and very heavy. Dodge the big hammer rather than parry-trading it, then punish the long recovery. Repeat a few times and his Sha-Chi bar breaks.
Drop: Bashpole (Phantom Edge that also smashes weak floors). Verdict: D tier. Big swings, no tricks at all.
#46: Stone Hand Iron Fever
Where: Crimson Forest. Required.
How to beat it: He turtles behind a heavy guard and light attacks bounce off. Parrying drains his Sha-Chi faster than any combo, then heavy combos crack the guard open.
Drop: Iron Gauntlets (Phantom Edge, one of the best in the game). Verdict: D tier. Great reward, slow and stubborn fight.
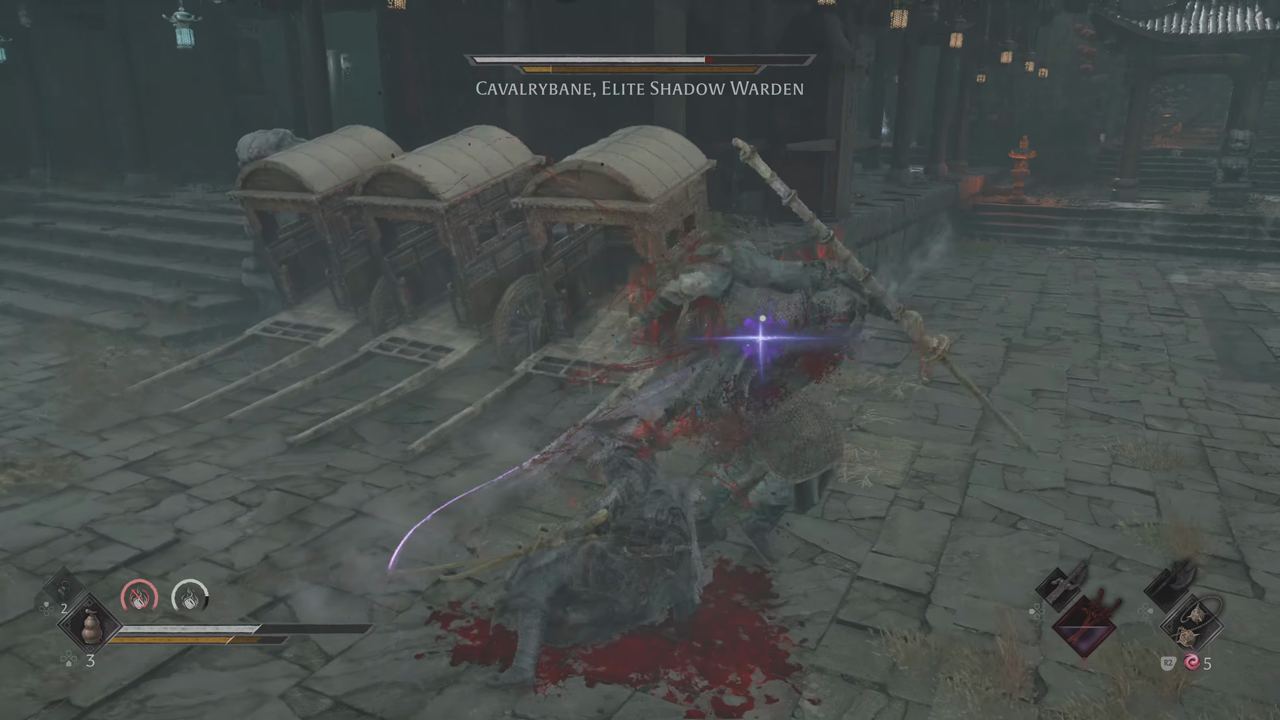
#45: Cavalrybane, Elite Shadow Warden
Where: Pangzhen, the Pavilion of Knowledge Crossroads. Required.
How to beat it: His strikes are so predictable the fight turns into a parry farm. Every parry chips his Sha-Chi; break it, then swap-combo.
Drop: Armybreaker (main weapon); Three Wardens Fall 1/3. Verdict: D tier. A great drop from a forgettable duel.
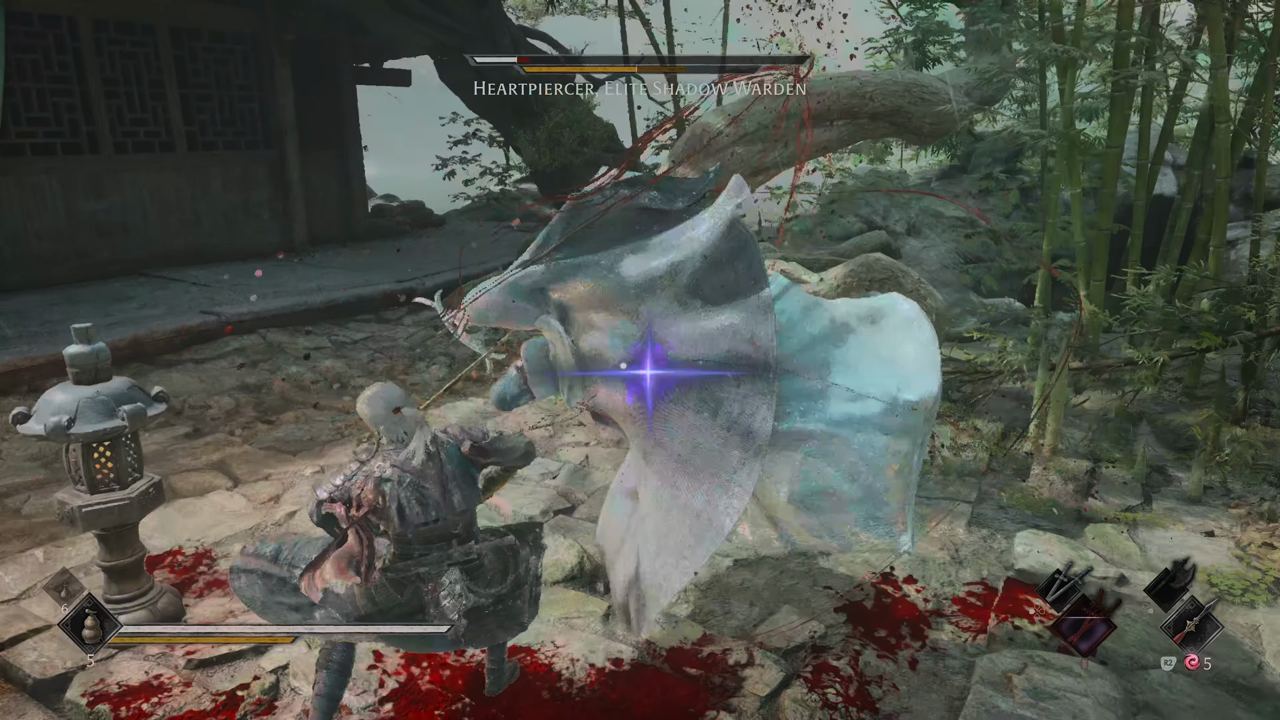
#44: Heartpiercer, Elite Shadow Warden
Where: Meigu Lake, inside the White Serpent House. Required.
How to beat it: Same Warden formula: read the flash, answer it, break the Sha-Chi bar, swap weapons.
Drop: Sundering Dual Axes, White Serpent Eye; Three Wardens Fall 3/3. Verdict: D tier. The third Warden and the third copy of the idea.
#43: Master Bi Hai of Kuye Temple
Where: Village of Lu. Required.
How to beat it: He summons monks, and if you ignore them they surround you. Kill the monks first, then keep controlled pressure on Bi Hai's guard, break his Sha-Chi and swap-combo.
Drop: Kuye Temple Prayer Beads (summon Phantom Edge). Verdict: D tier. The adds are the hard part. Busy, not great.
#42: Kui Yanyan, the Deranged
Where: Mountain of Imprisonment, the Shrine Outer Gate. Optional.
How to beat it: Watch one full combination, then counter at its end. Every clean counter pushes his Sha-Chi bar closer to a break. That's the whole fight.
Drop: Missing Lift Crank, Sha-Chi Amber Fragment. Verdict: D tier. A filler fight with a lift crank for a prize.
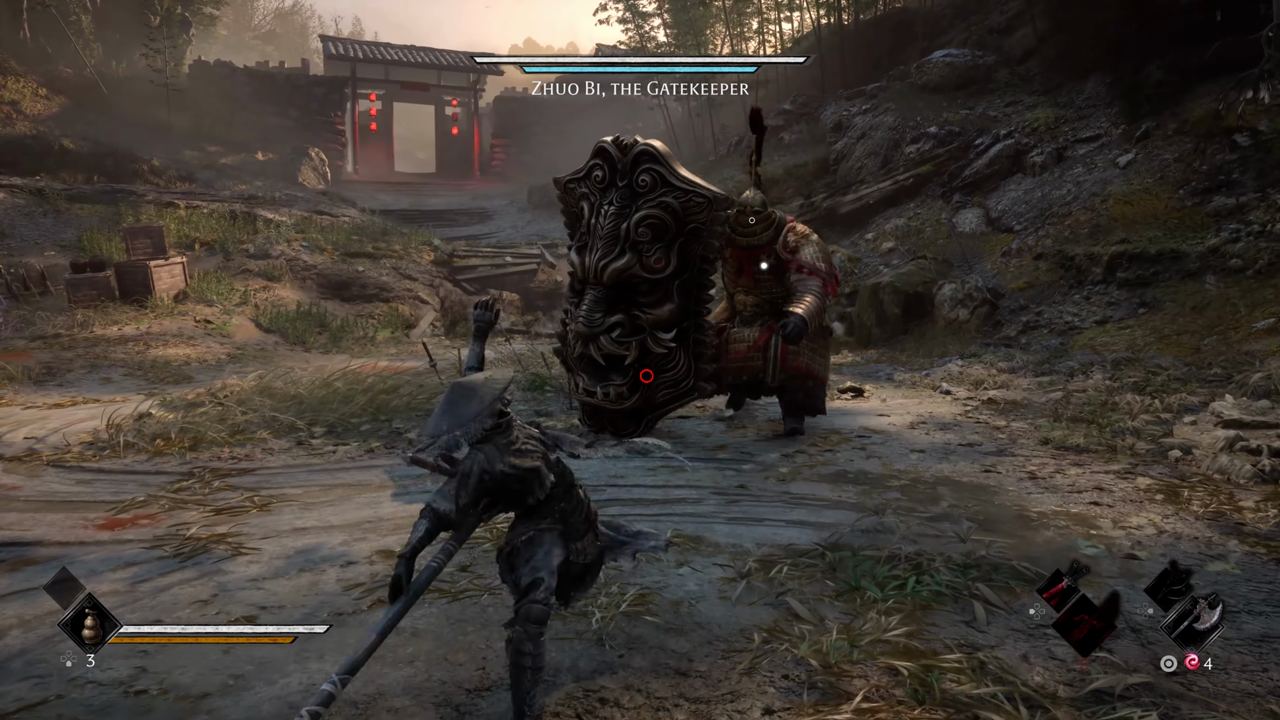
#41: Zhuo Bi, the Gatekeeper
Where: Village of Lu, guarding the gate into the village. Required.
How to beat it: His giant shield soaks everything from the front and blocks arrows, so stay melee. The fun part: parry the shield slam as it comes down. Then heavy attacks smash the guard open, and a weapon swap mid-combo adds extra damage.
Drop: Bastion (shield Phantom Edge). Verdict: D tier. One good idea puts him at the top of D tier.
C tier: decent, but flawed (#40 to #28)
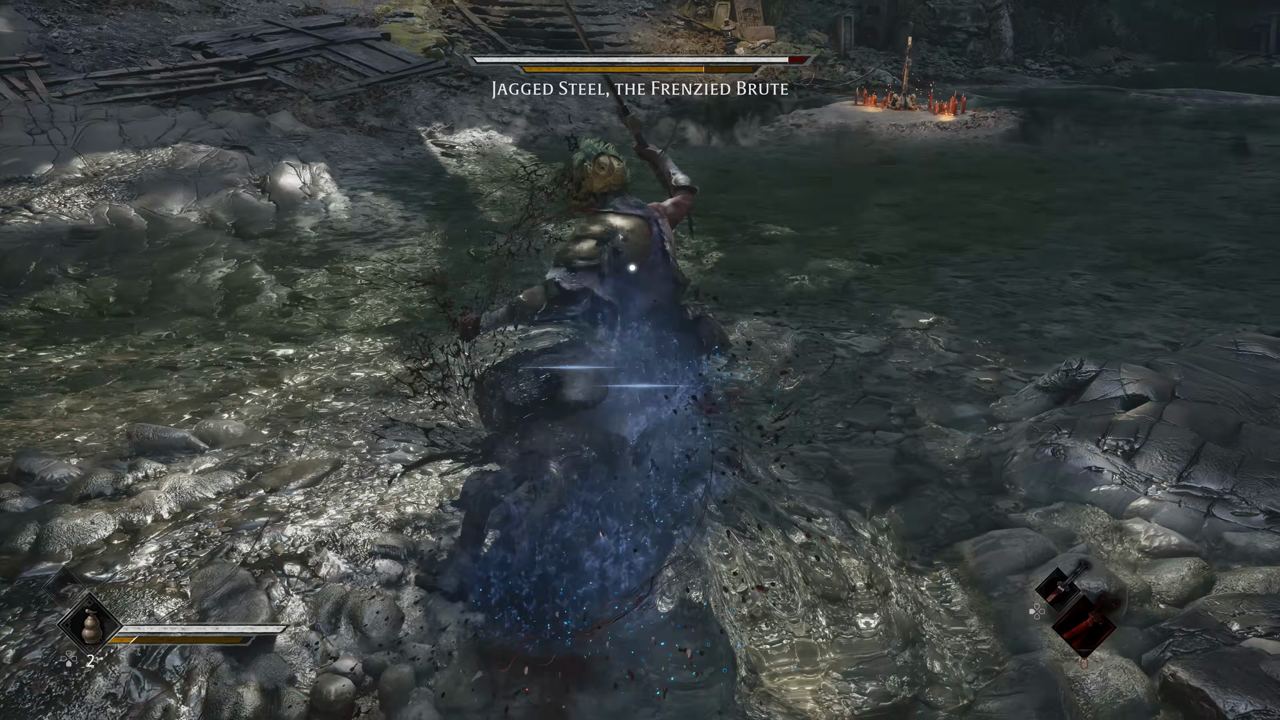
#40: Jagged Steel, the Frenzied Brute
Where: Weeping Creek Valley, near the Rustblade Pavilion bell. Required.
How to beat it: He's the parry and perfect-dodge tutorial. Don't trade during his heavy swings; they're slow and readable, so dodge late and punish the recovery. His red flashes are perfect Ghoststep practice. A few clean parries break his Sha-Chi.
Drop: Jagged Steel (Bleed main weapon, top tier all game). Verdict: C tier. Great teacher, simple fight.
#39: You Loong, Leader of the Blackwater Crew (both fights)
Where: Pangzhen part 2, then a frenzied rematch on Meigu Lake at the Blackwater Crew Dock island. Optional.
How to beat it: A solid sword duel. Punish his openings, never mid-string. Break his Sha-Chi, then extend with a weapon swap. Beat him before Flame.
Drop: You Loong's Deluge (water cannon Phantom Edge, Flame's counter); the rematch drops Loong Trident and the High-Power Pump. Verdict: C tier. Matters more for the drop than the duel.
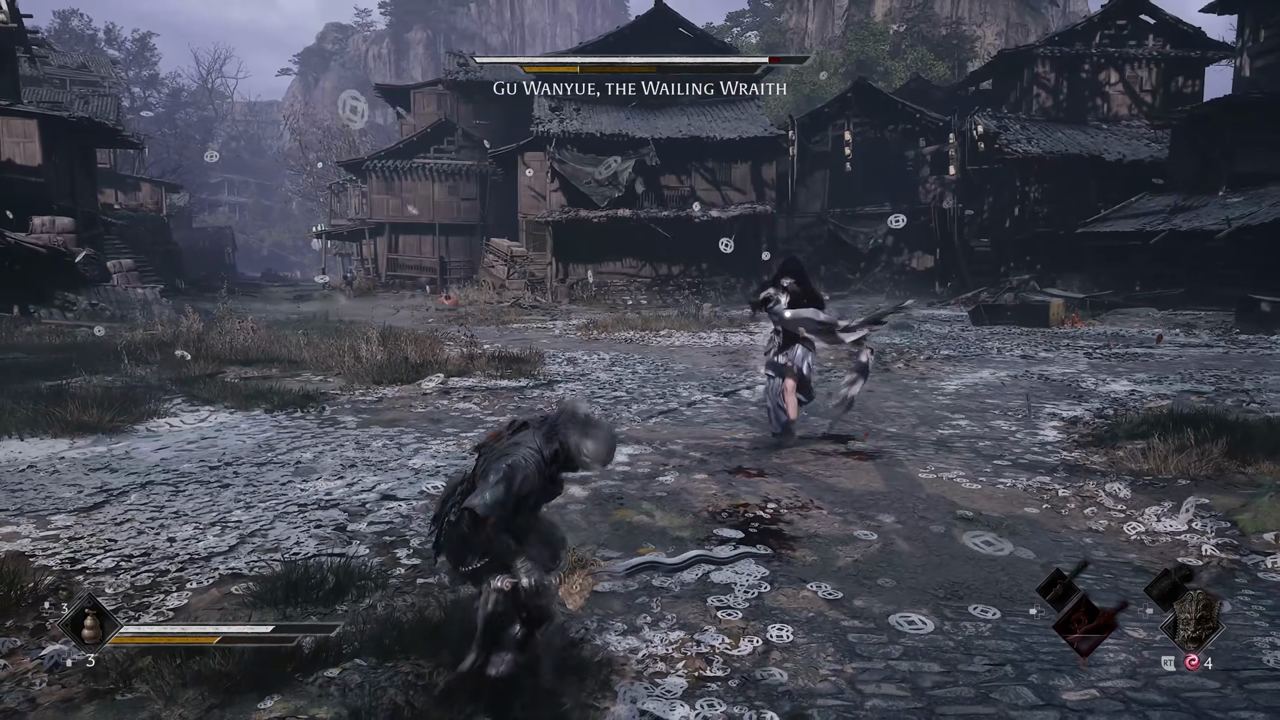
#38: Gu Wanyue, the Wailing Wraith
Where: Pangzhen, Pond of Fading Song. Required.
How to beat it: Her red flashes come often, and none can be parried: dodge every one and counter only when it's safe. The loop is survive, break her Sha-Chi, punish, repeat.
Drop: Fanatic's Fragment: Fixation (half of the upgrade for the Fanatic's Broken Blade). Verdict: C tier. The eerie setting carries her.
#37: Dusk, the Puppeteer
Where: Village of Lu, the ravine past the Broken Puppet Pit Entrance. Optional (needs six Memory Flowers to unlock).
How to beat it: His puppets pile up fast and you end up fighting a crowd. Control the summons first, then work Dusk down with parries, break his Sha-Chi and swap-combo.
Drop: Puppeteer's Bell (summon Phantom Edge), Illusory Pipa Head. Verdict: C tier. Cool theme, cluttered fight.
#36: Wu Xuan, the Fallen General
Where: Pangzhen, just past the Backstreet Archway bell. Required.
How to beat it: His defensive stance is the twist: heavy attacks break it open. Outside the stance, read each flash and answer it. Once he breaks, a weapon swap stretches the combo.
Drop: Wolfjaw (lifesteal mace Phantom Edge). Verdict: C tier. A decent general, nothing more.
#35: Soulclaimer, Elite Shadow Warden
Where: Pangzhen part 2, Dockside Warehouse courtyard (northeast docks). Required.
How to beat it: Attacking into his guard gets you nowhere. Build Sha-Chi damage with parries, guard-break him, then swap mid-combo to extend it.
Drop: Parting Hooks (dual counter weapon); Three Wardens Fall 2/3. Verdict: C tier. The best of the three Wardens.
#34: Aberrant Three-Faced Puppet
Where: Weeping Creek Valley, inside a Challenge Rift. Optional.
How to beat it: On a first visit it's far too tanky; come back later with upgraded gear. It exits through mirrors and portals, so track the exit, then parry. Long fight: safe parries over damage races.
Drop: Three-Headed Doll (story item). Verdict: C tier. Great idea, spongy fight.
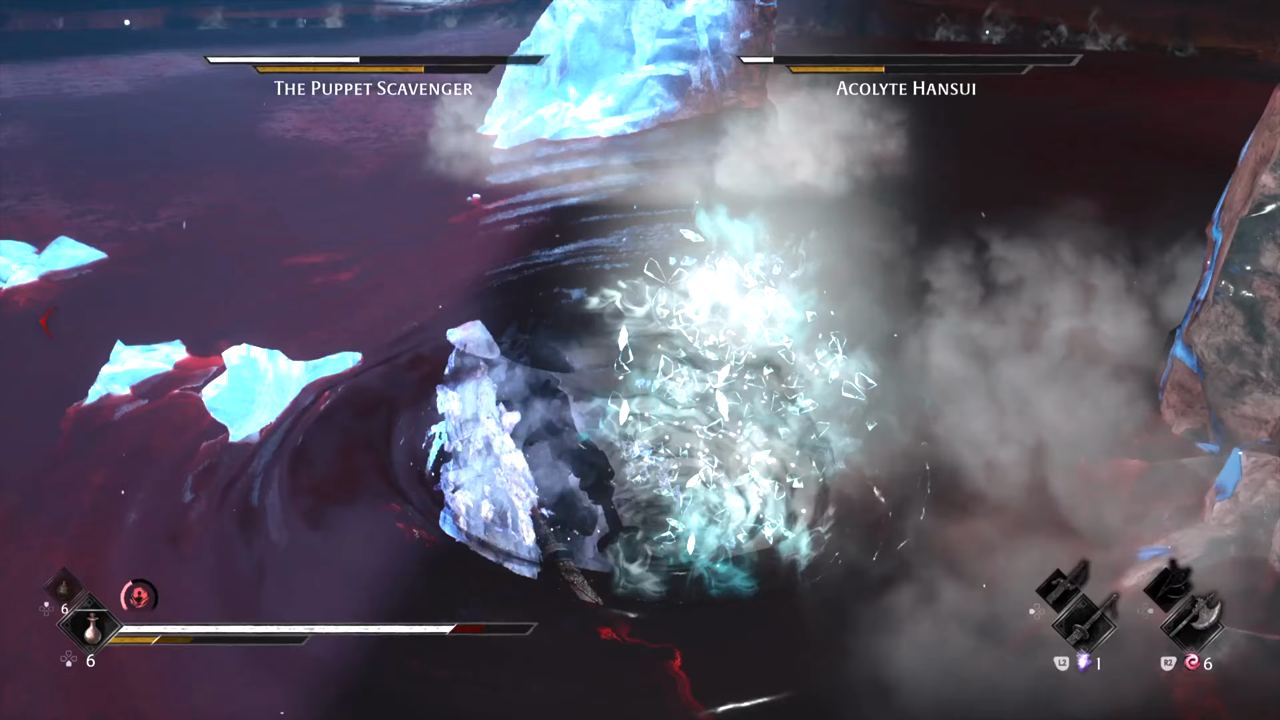
#33: The Puppet Scavenger and Acolyte Hansui
Where: Crimson Manor, the Scavenger Pens (depths of the manor). Optional.
How to beat it: Two bosses at once. Keep both on screen and focus one down. Once one falls, the rest is a normal duel.
Drop: Alloyed Scythe Blade (Hunter's Chain Sickle upgrade), Crystal Puppet Eye [Yang], Hansui's Frost Mask. Verdict: C tier. Fun chaos, then it fizzles.
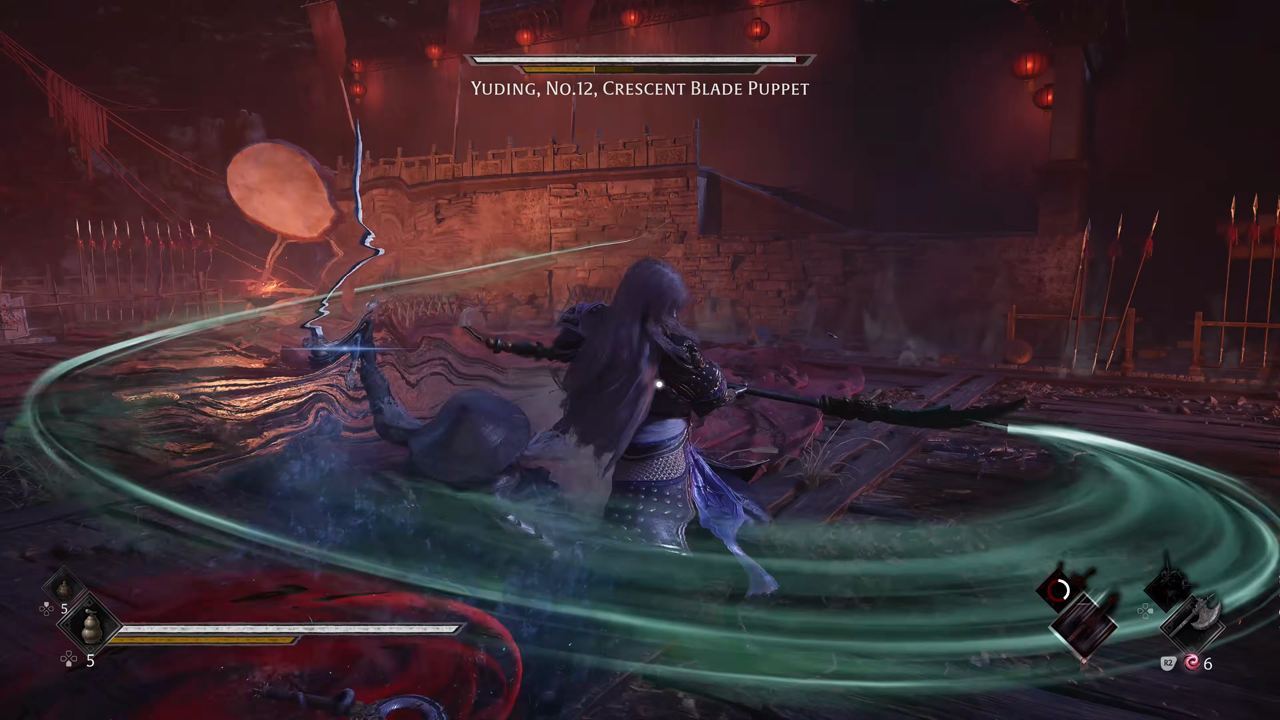
#32: Yuding, No. 12 Crescent Blade Puppet
Where: Mirage Estate, Training Grounds bell. Required.
How to beat it: Dodge the wide crescent sweep, then strike after the recovery. Break the Sha-Chi bar between sweeps and swap-combo.
Drop: Crescent Blade (polearm); The Four Freed 3/4. Verdict: C tier. Stylish, but one-note.
#31: Jade-Face
Where: Mountain of Imprisonment, The Lady's Shrine bell. Optional (but it guards the way to Huangxing).
How to beat it: Swing before one of his strings ends and the rest of it lands. Wait, parry the blue flashes, and each opening chips the Sha-Chi bar. Break it, then go all in.
Drop: Seamless Death (dual ring weapon). Verdict: C tier. Standard parry, open, break.
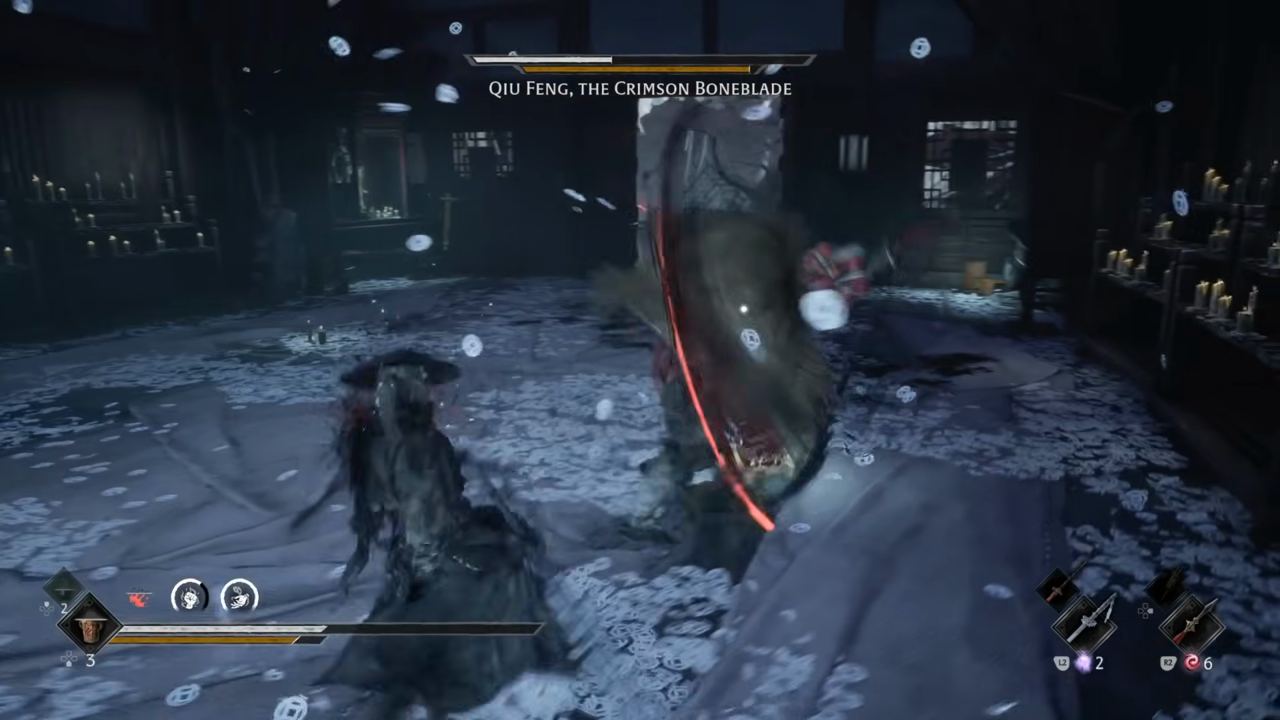
#30: Qiu Feng, the Crimson Boneblade
Where: Mirage Estate, near the Mourning Hall bell. Required.
How to beat it: A precise duel: perfect parries first, damage second. Let the Sha-Chi bar fill from parries, then swap-combo the break.
Drop: Wraith Mask (accessory: Ghoststeps spawn attacking masks). Verdict: C tier. Clean and fair, but forgettable.
#29: Bi Feng, Giant Saber Commander
Where: Mountain of Imprisonment, Cavern Passage bell. Optional, but required for the true ending.
How to beat it: Stay outside the giant saber sweep, step in right after it, then guard-break. Once the bar breaks, swap weapons to stretch the combo.
Drop: Juggernaut (parry-stacking greatsword); The Two Blade Masters 2/2. Verdict: C tier. Important, but plain.
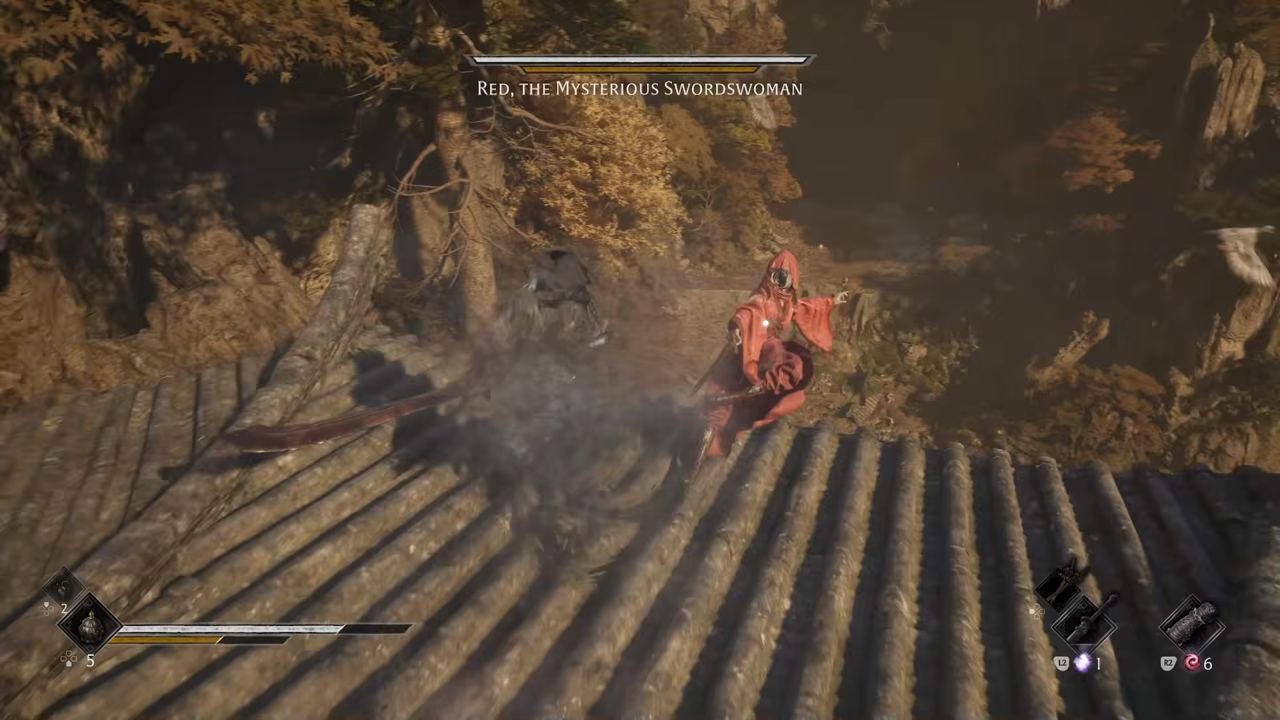
#28: Red, the Mysterious Swordswoman
Where: Mandate Encampment, on a rooftop. Optional.
How to beat it: Her attacks come suddenly: react, don't guess or pre-dodge. The rooftop edges make every step count.
Drop: No item; advances the Daughter of the Dark Sect tale. Verdict: C tier. A tense little duel with a story hook. The best of C tier.
B tier: good boss fights (#27 to #15)
#27: Chief Disciple of the Seven-Stars Formation
Where: Mandate Encampment. Optional.
How to beat it: Six disciples join him. Fight in the middle and you get surrounded, so fight at the edge where nobody gets behind you. Kill the disciples first, then the Chief. Phase two checkpoints.
Drop: Swordsman's Summon (Phantom Edge), Training Grounds Key. Verdict: B tier. A real formation fight.
#26: Yuzan, No. 3 Musician Puppet
Where: Village of Lu, Puppet Testing Grounds, inside the well (Beneath the Well bell). Required.
How to beat it: It fights with music. Attack during a projectile pattern and you get shot. Evade the pattern, close the distance in the gap, and hit back between patterns, never during them.
Drop: Heartrend Pipa (Phantom Edge, repairs into the Illusory Pipa); The Four Freed 1/4. Verdict: B tier. A creative bullet-hell twist.
#25: Leng Tu, Herald of the Veil
Where: Mount Soulrend, the summit past the Soulrend Cliff bell. Required.
How to beat it: His red threads fill the arena: dodge them, then punish the opening. Break the Sha-Chi bar and end it with a swap combo. Arrive healed, because the next fight starts right after.
Drop: Herald's Lingering Threads (turns the Puppeteer's Bell into the Abyssal Bell). Verdict: B tier. Short, tense, and the opening act for the finale.
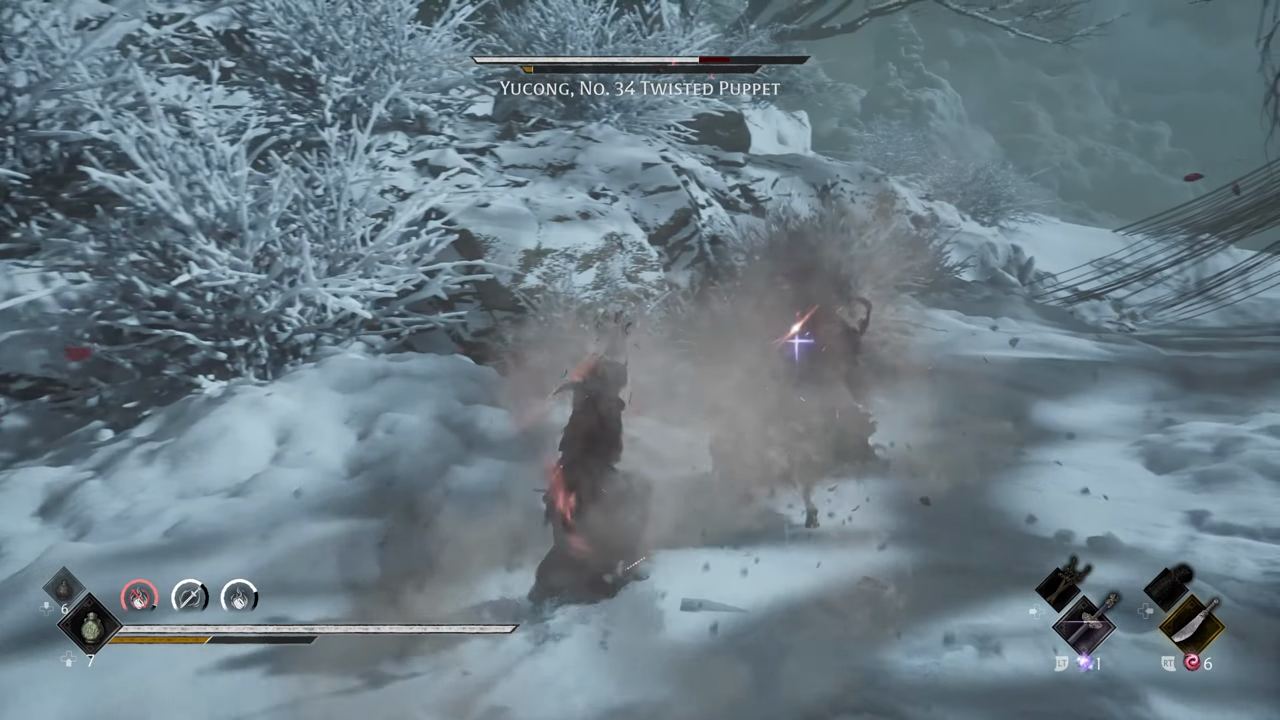
#24: Yucong, No. 34 Twisted Puppet
Where: Crimson Forest, Threadbound Great Tree (Mirrorwood). Optional (only appears when you return during the Mirage Estate chapter).
How to beat it: Its red slash strings are fast; swing early and it hits back. Wait them out: parry blue, dodge red, then punish.
Drop: Freezing Chaos (top-5 weapon), Chaos Iron Fragment II; completes The Four Freed. Verdict: B tier. A hidden return-visit fight worth finding.
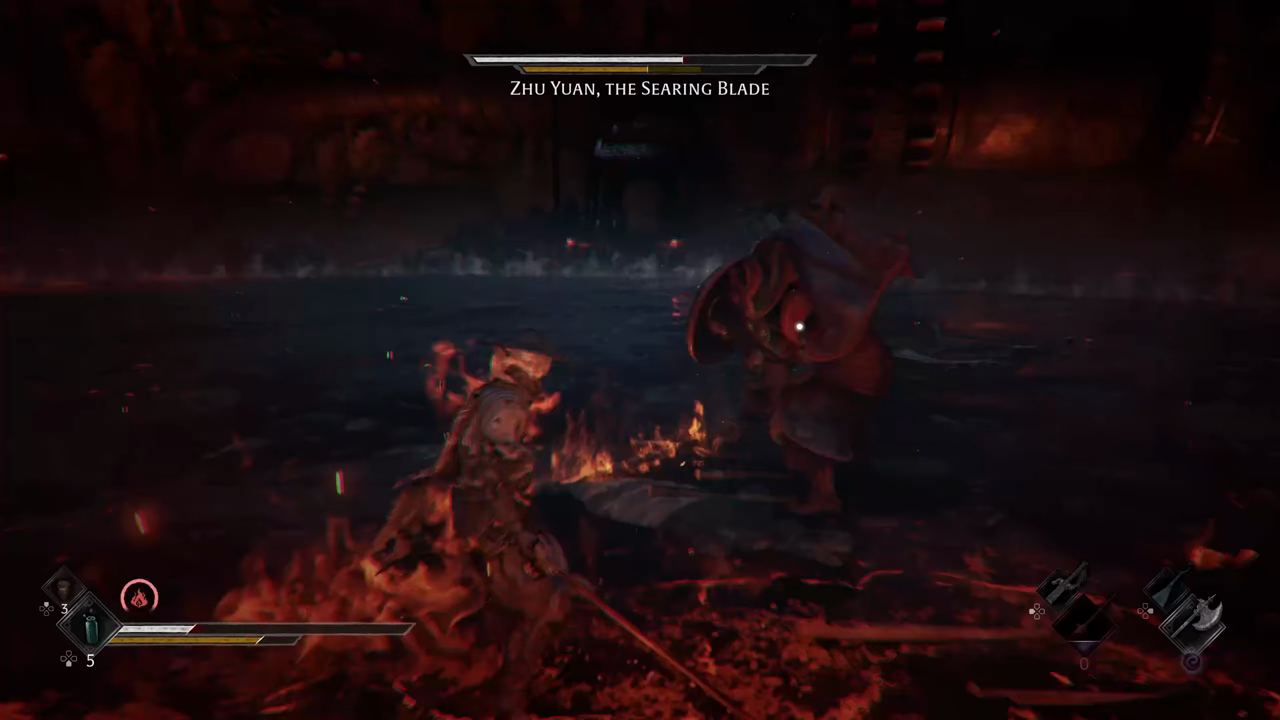
#23: Zhu Yuan, the Searing Blade
Where: Pangzhen, at the bottom of the Sha-Chi Tower. Optional, but required for the true ending.
How to beat it: A proper blade duel. Parry blue, dodge red, punish every Ghoststep. Break the bar, then stretch the combo with a weapon swap.
Drop: Scorching Flames (half of the Flaming Grip for the Blazing Edge); The Two Blade Masters 1/2. Verdict: B tier. Fast, fair and fun.
#22: Yan Qiansui, the Zither Maiden
Where: Meigu Lake, the Sunken Opera House (Meigu Songhouse Dock). Optional (needs all six Yan'er Memory Flowers).
How to beat it: Her notes flood the arena; swing through them and you get hit. Dodge the notes, punish her pauses, and break her Sha-Chi in the gaps.
Drop: Fanatic's Fragment: Attachment, Illusory Pipa Strings; Master of the Misty Waters 3/3. Verdict: B tier. A gorgeous stage and a real musical duel.
#21: Chang Hong, the Thunder Spear
Where: Pangzhen part 2, Ancestral Shrine Square. Required.
How to beat it: His charge out-ranges a back-step, so dodge sideways and hit him on every turnaround. Phase two is mounted with bigger charges: same answer, go sideways every time.
Drop: Thunder Spear (Phantom Edge). Verdict: B tier. Two phases of great spear pressure.
#20: Blaze, Shadow Warden Captain
Where: Pangzhen, South Gate Bridge. Required.
How to beat it: His meteor hammer owns mid range. Stay close enough to read him or fully out of chain range, never in between. Counter during the recovery after his fire attacks. Phase two checkpoints.
Drop: Fire Meteor (Phantom Edge), Crimson Flesh Lily. Verdict: B tier. A fight where spacing actually matters.
#19: Jing Ye, the Outlaw
Where: Crimson Forest, near the Outlaw Trap bell. Required.
How to beat it: It opens on horseback. Get caught in front of a mounted charge and you're flattened: dodge sideways and hit him on the turnaround. Several phases, and progress saves between them. Punish only the gaps between his sequences.
Drop: Outlaw Warblade (heals on every hit). Verdict: B tier. A proper multi-phase story boss.
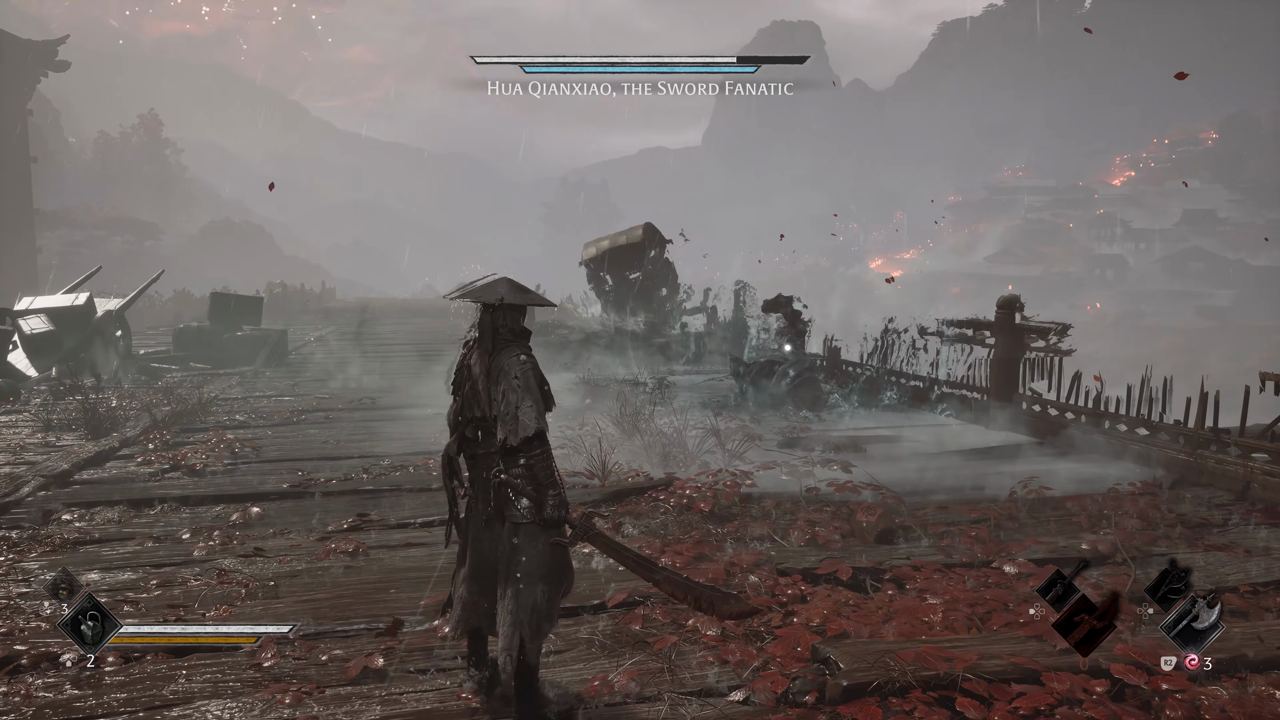
#18: Hua Qianxiao, the Sword Fanatic
Where: Crimson Forest, Pangzhen Bridge Overlook. Required.
How to beat it: His sword combos are fast and long. Hold block through the strings to make him burn stamina, and parry only when you're sure. Smash his bubble move with the Dread Axe. Once his stamina is gone, finish the Sha-Chi bar and unload.
Drop: The Fanatic's Broken Blade (restores into the Drunken Sword). Verdict: B tier. A real rhythm check.
#17: Mo Yuan, Leader of the Bastion of Mo
Where: Mirage Estate (reported at the Mirage Estate Long Pillar; the exact spot varies by guide). Optional.
How to beat it: A pure dodge fight: almost every big move is a red flash, so every one is a Ghoststep chance. Red flash as he rises is the leaping kick; then comes a leaping red crescent. Dodge both, and punish the overhead strike's recovery.
Drop: Bastion of Mo Mask (Soul Temper material: turns the Sanguine into Infernal Rouge). Verdict: B tier. A short, sharp dodge exam.
#16: Wu Lengshuang, the Soft Sword
Where: Mandate Encampment, near the Path of the Baishan's Fall bell. Optional.
How to beat it: She punishes aggression. Parry, take one or two hits, then reset. Those small punishes add up; break her Sha-Chi, then go all in.
Drop: Soft Snake Sword (main weapon), Blackstone Fragment. Verdict: B tier. Among the hardest bosses in the game, and fair with it. High B tier.
#15: Yubi, No. 21 Swordfighter Puppet
Where: Mandate Encampment, Training Grounds at the far end (during the Illusory Pipa quest). Optional.
How to beat it: Chipping its guard with light attacks does nothing. Parry its strings, then break the guard with Sha-Chi combos. Take short punishes only, then reset.
Drop: Baishan Stormswords, Broken Vessel, an Illusory Pipa part; The Four Freed 2/4. Verdict: B tier. Brutal, fair, and the best of B tier.
A tier: great boss fights (#14 to #6)
#14: The Saw and the Crusher
Where: Mount Soulrend, The Giant's Lair (frozen lake). Required.
How to beat it: Two giants at once; let them stack up and you eat both attacks, so separate them wherever you can. Phase two is The Crusher, Earthshattering Form: he slams and hides in a snow cloud. Don't charge in; wait two or three seconds and he reappears. Then dodge clear of the iron-ball slam and drag.
Drop: Bonesaw (two-handed); Baishan Headband if Cui's tale is done. Verdict: A tier. Huge, loud and properly epic.
#13: Hua, Deadly Betrothed
Where: Weeping Creek Valley, Flesh Lily Fields under the first Sha-Chi Tower (hidden opening in the tower machinery, slide down the wooden bridge). Optional.
How to beat it: Her arena is full of Flesh Lilies that explode: walk or dodge clear before you re-engage. Her four-hit string always ends in a blue finisher, so parry the fourth hit. A red flash is her grab: dodge. Dodge, don't block, the long-reach cut and low sweep. Don't over-commit; she has a counter-swing, and she gets deadlier as her health drops.
Drop: Scarlet Wraithblade (two-handed), Flesh Lily. Verdict: A tier. Early, optional, unforgettable, and one of the hardest bosses in the game.
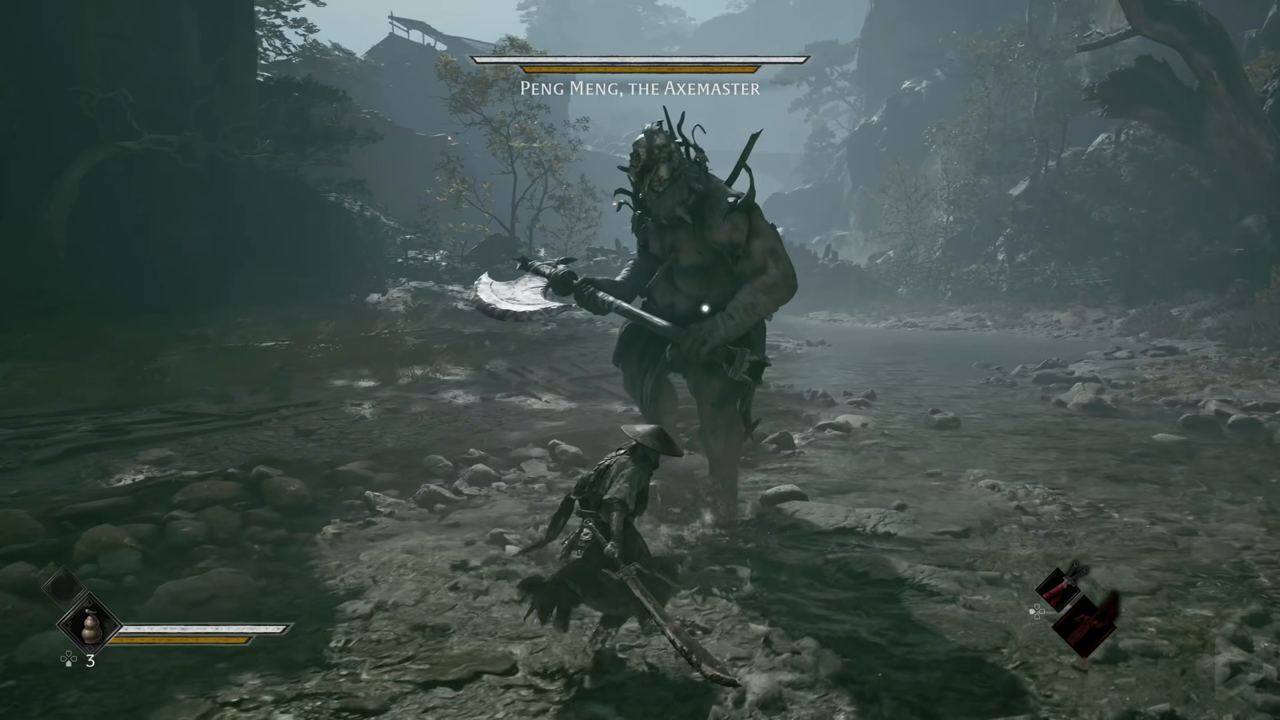
#12: Peng Meng, the Axemaster
Where: Weeping Creek Valley, The Axemaster's Fall bell. Required.
How to beat it: The cleanest flash teacher in the game. Parry every blue axe combo. His red grab lands about 0.6 seconds after the flash: dodge sideways, Ghoststep behind him, free combo. Don't back straight off his low diving lunge; sidestep as he lands. The first swing of his ground-slam combo can't be parried, so dodge it, then parry the rest.
Drop: Dread Axe (your first Phantom Edge, and the best one). Verdict: A tier. A perfect teacher.
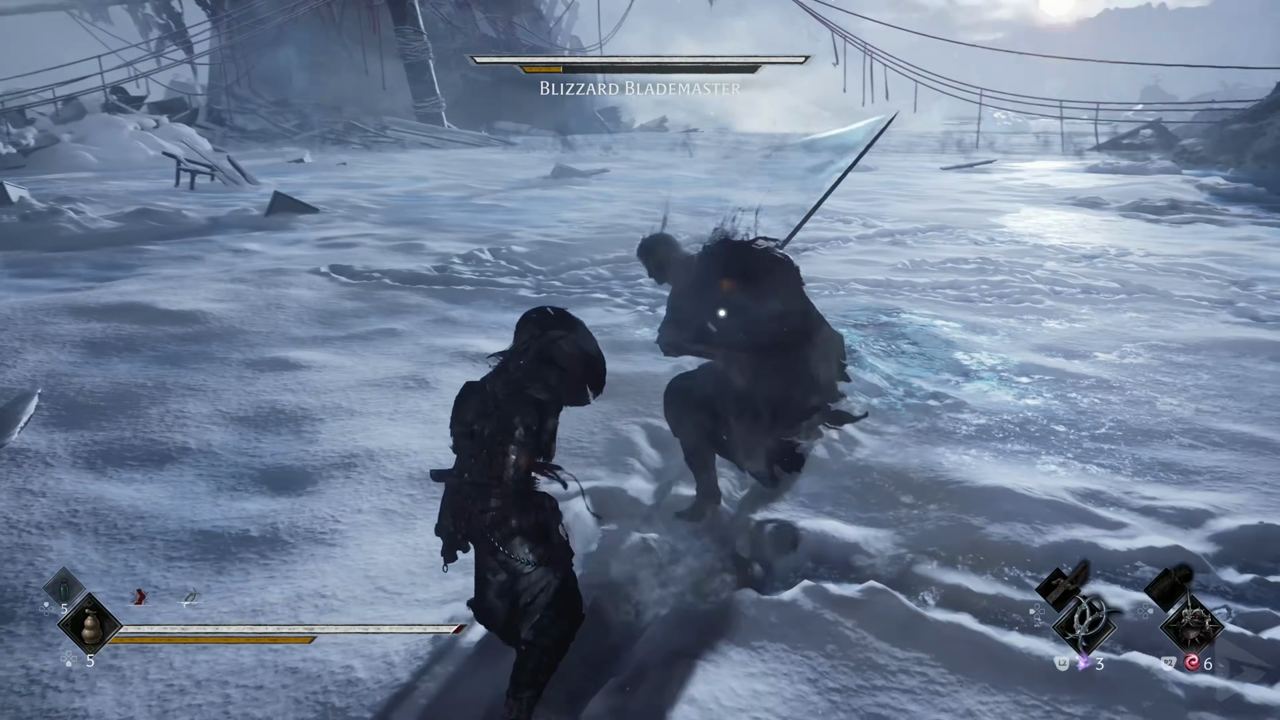
#11: Blizzard Blademaster
Where: Meigu Lake, the frozen lake by the Whiteshadow's Fall bell. Optional.
How to beat it: Rest at Whiteshadow's Fall bell first so your gourd is full. His tall ice crescent is a sidestep, not a parry. The short ground ice burst can lock you in place: back off. Dodge the red-flash strike, dodge the leap-slam landing, then punish. Don't block his chains; frost buildup freezes you.
Drop: Whiteshadow (Frost two-hander); Puppet No. 99 appears on the lake afterwards. Verdict: A tier. Gorgeous arena, dangerous moveset.
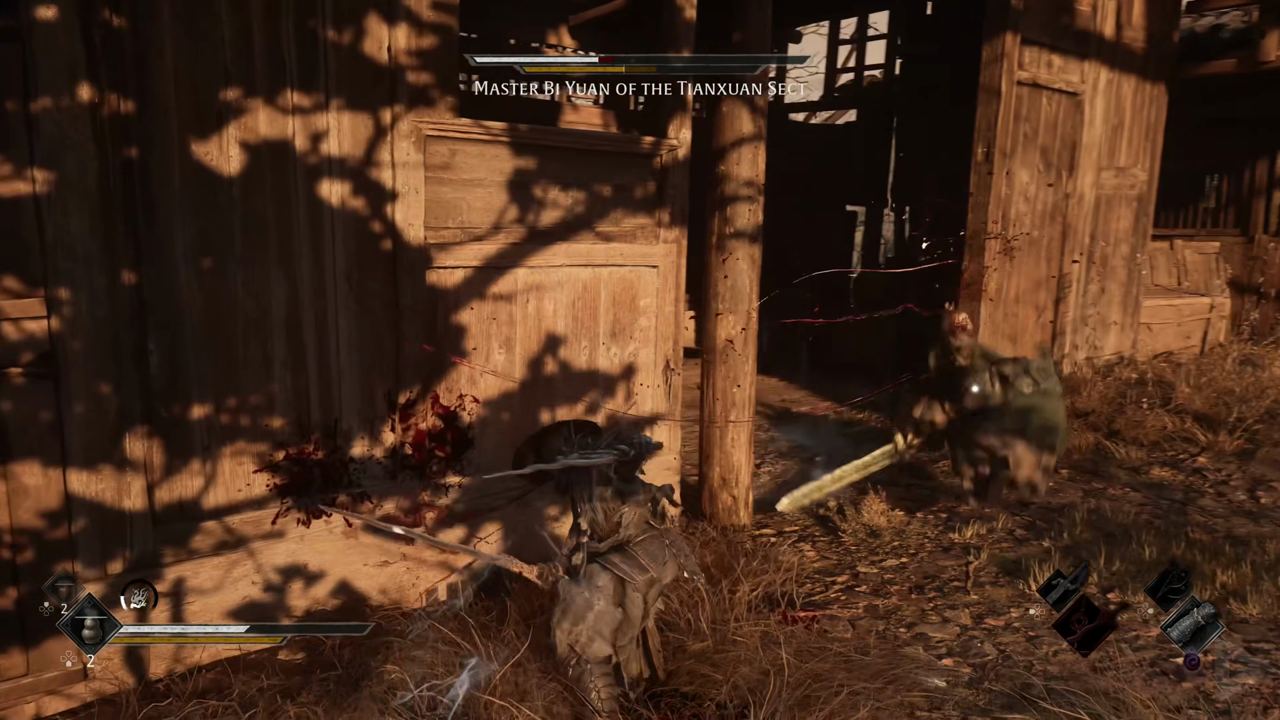
#10: Master Bi Yuan of the Tianxuan Sect
Where: Village of Lu, Statue Grounds. Required.
How to beat it: A true swordmaster: almost every chain can be parried, including the green crescent sweep. Dodge his sidestep lunge (around 800 damage) as he turns back in. Teal dash cuts: parry the weak one, dodge the strong one. His flying slash covers about 12 metres, so go sideways, and dodge the heavy teal wave the moment he pulls back. Don't race his health bar.
Drop: Tianxuan Bronze Sword (the block-only sword). Verdict: A tier. A pure sword exam.
#9: Huangxing, the Kunlun Renegade
Where: Mountain of Imprisonment, The Lady's Shrine (past Jade-Face). Optional.
How to beat it: His chain-ball knocks you back even through a block: dodge it. Dodge the long pole thrust up close and the skid across the hall. Even his thin red flash is a dodge. On Hellwalker his AI adapts to your last action, so vary your defence. Phase two, the Whirling Executioner, moves to a new location and checkpoints. Weapon-swap to refill Sha-Chi.
Drop: Flying Guillotine (Phantom Edge). Verdict: A tier. A boss that reads you back.
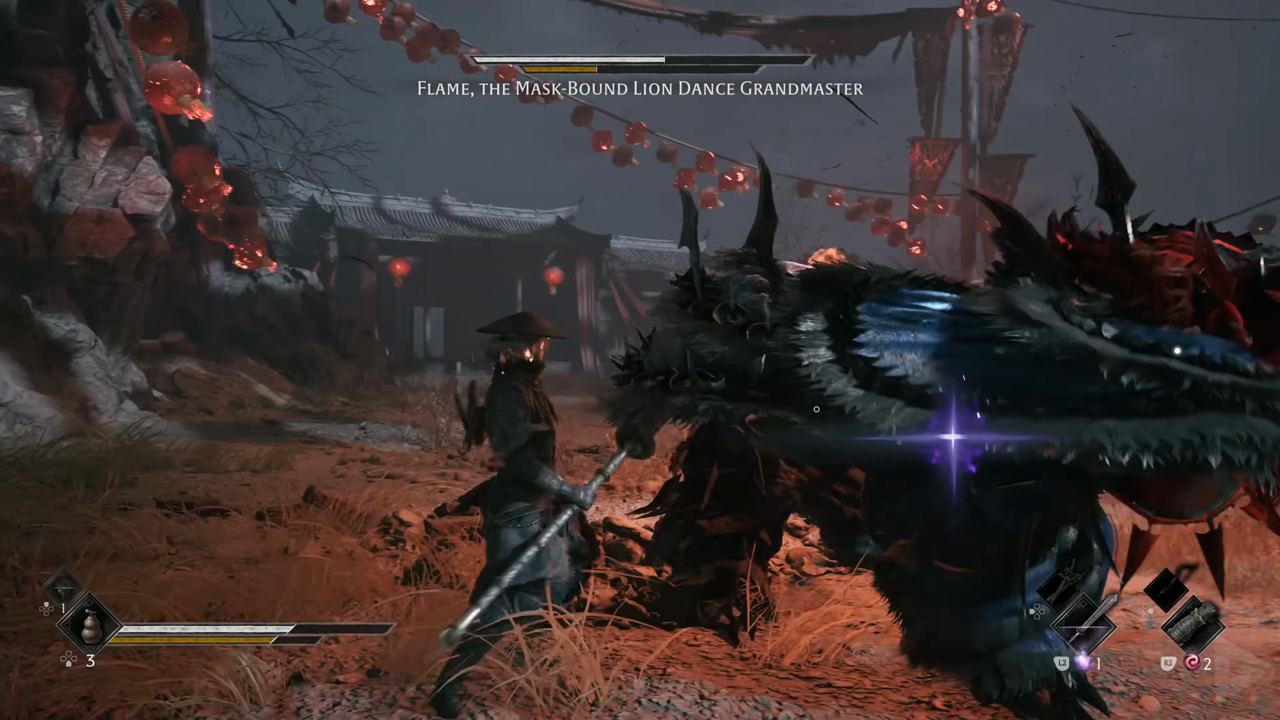
#8: Flame, the Mask-Bound Lion Dance Grandmaster
Where: Pangzhen part 2, Lion Dance Hall Depths. Required.
How to beat it: His fire covers huge areas, and phase one alone has a huge health pool (around 88,830 on Wayfarer). Bring You Loong's Deluge: the water cannon hits him hard and triggers Scalding Steam on a burning Flame for bonus damage. Punish the landings from his pole leaps. Phase two, The Lion Dance Grandmaster's Final Dance, is on foot with the lion head: dodge the leap, then punish.
Drop: Dormant Flaming Mane (repaired into the Flaming Mane Phantom Edge). Verdict: A tier. Pure spectacle with a smart counter.
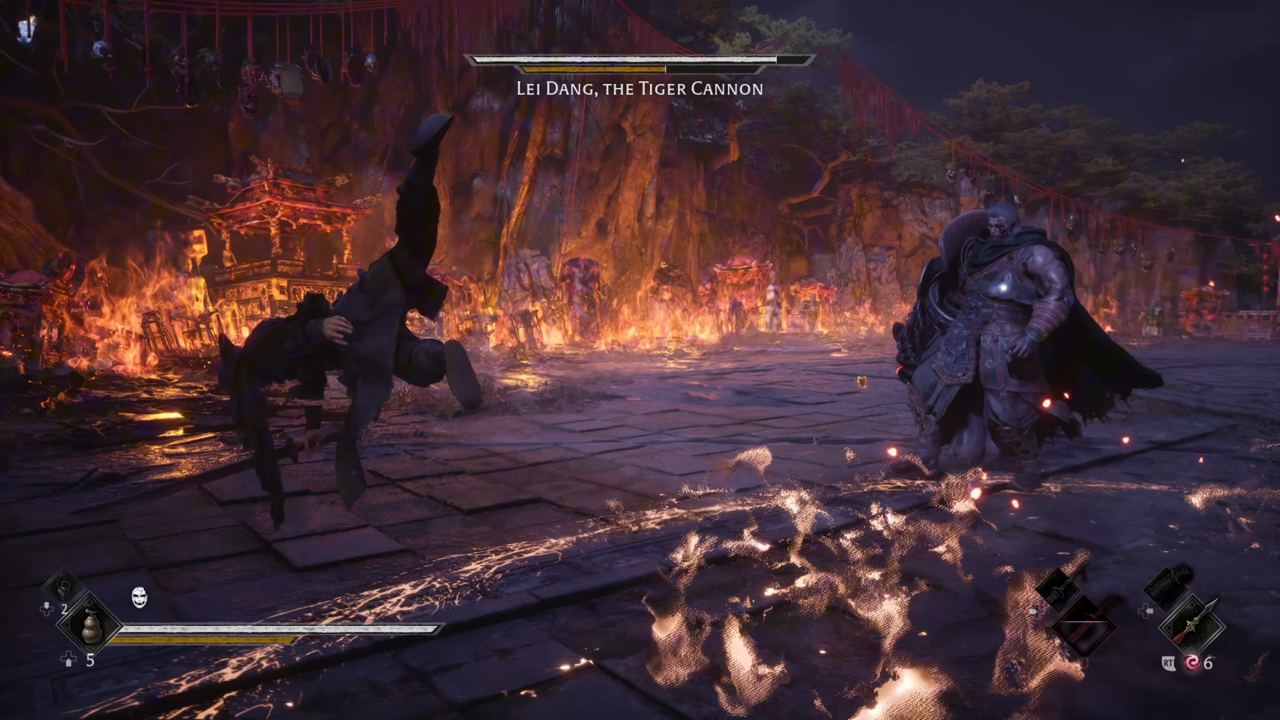
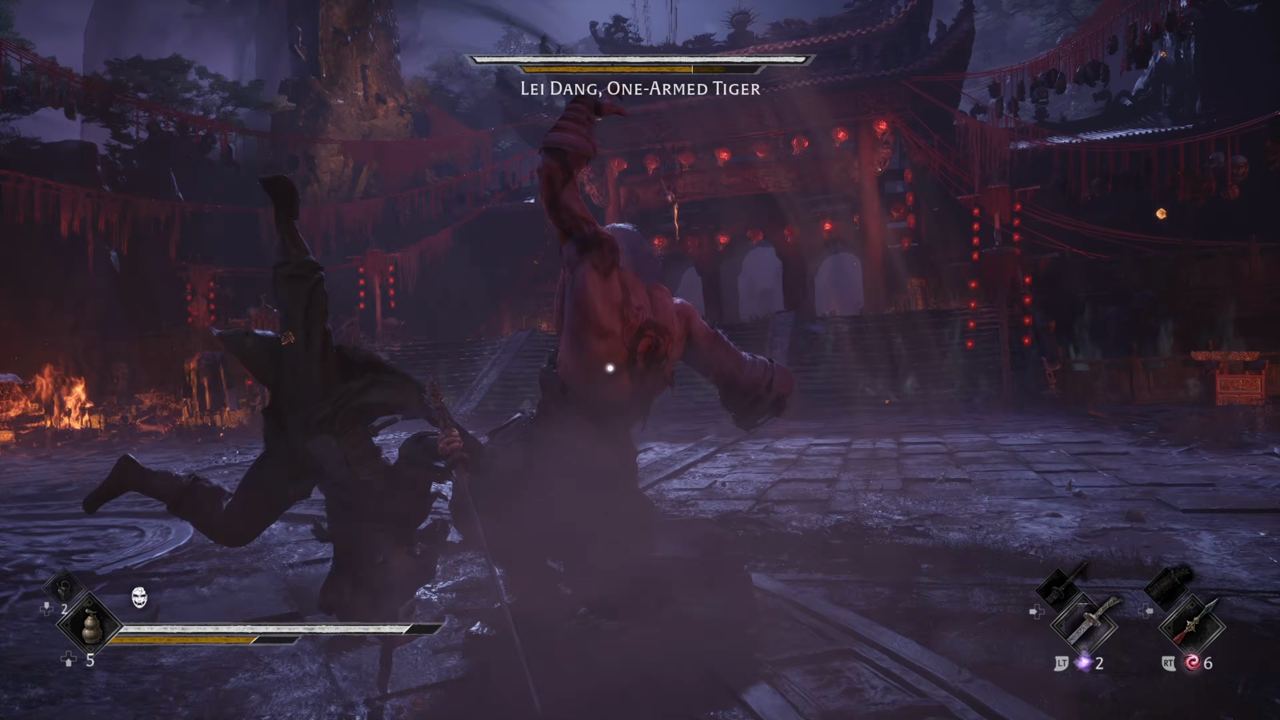
#7: Lei Dang, the Order's Envoy
Where: Mirage Estate, above the Perfect Vessel Pond bell. Required.
How to beat it: Most of his damage is ranged, so fight him up close. Slip sideways off every red aim line. At mid range he fires a red streak volley: dodge it. His overhead cannon slam leaves a big punish window. Phase two, the One-Armed Tiger, fills the screen with cannon blasts: dodge, then cut back. Phase two checkpoints.
Drop: Tiger Cannon (Phantom Edge that also breaks weak walls). Verdict: A tier. A gunslinger boss in a sword game.
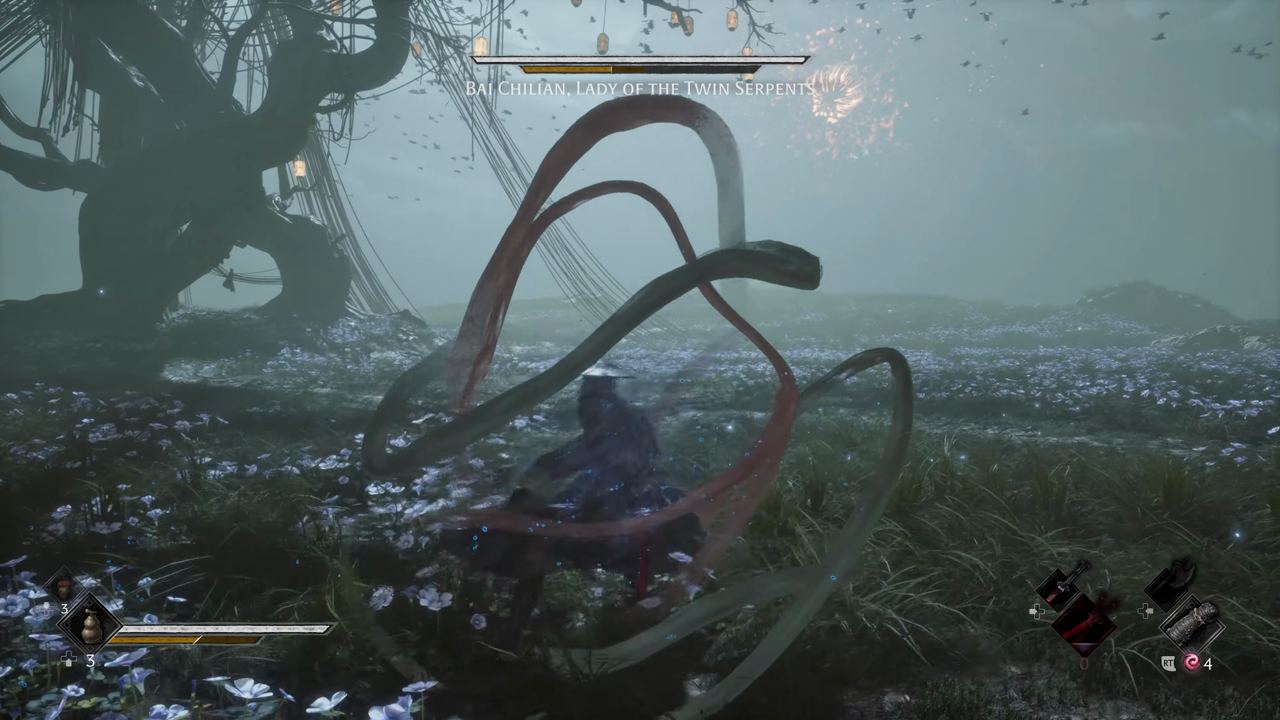
#6: Bai Chilian, Lady of the Twin Serpents
Where: Crimson Forest, the chapter finale. Required.
How to beat it: Her blue twin-sword strings are a parry dance: perfect-parry every hit. Her red serpent strikes go straight through your block, so dodge on time and Ghoststep behind her. Her patterns change, so long combos get you caught: two hits, then reset. Phase two checkpoints.
Drop: White Serpent & Crimson Viper (dual swords), Resonance Talisman. Verdict: A tier. The best boss outside the top five.
S tier: the top five (#5 to #1)
#5: The Hunt, Hunter of the Order
Where: First on Old Man Gen's moving cart in the Prologue (scripted), then for real at the Great Waterfall in Weeping Creek Valley. Required.
How to beat it: His hook grab is his biggest damage by far. Red flash on the hook: dodge it every single time, then punish the recovery with the Dread Axe. Phase two, The Hunt, Sixfold Scythe, adds six scythes and much faster chains. Treat each link on its own: parry the blue ones, dodge the red ones.
Drop: Hunter's Chain Sickle (Phantom Edge that also grapples), 20,000 Remnant Dust. Verdict: S tier. A rival with a huge second phase.
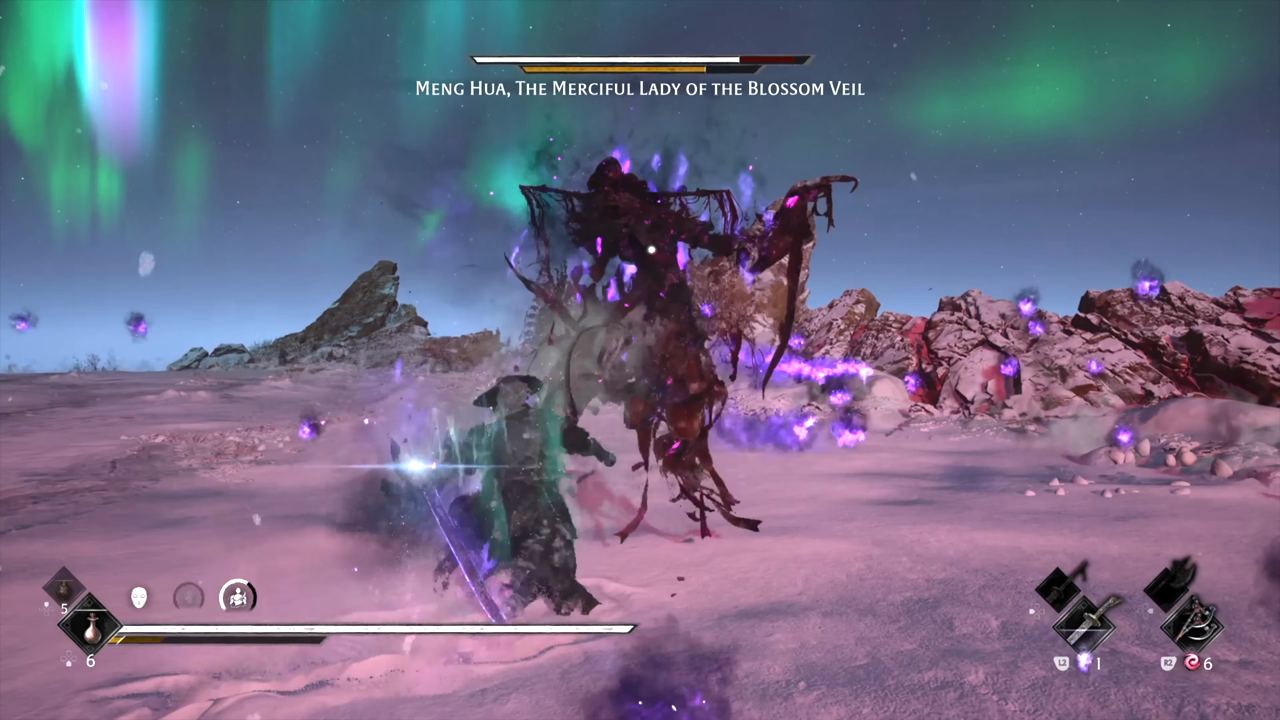
#4: Meng Hua, the Merciful Lady of the Blossom Veil
Where: Mount Soulrend, Soulrend Cliff (starts right after Leng Tu). Required (normal-ending final boss).
How to beat it: She rains red lances across the arena: dodge them. Her fan strings are the parries. Attack only during real openings; she punishes everything else. Later, lightning and frost join in and every elemental pillar becomes a dodge, never a block.
Drop: The Lady's Fan (dual weapon), The Lady's Crown. Verdict: S tier. A true finale.
#3: Mu Xiaokui, Young Mistress of the Order
Where: Village of Lu, the chapter finale. Required.
How to beat it: Each phase plays like a new boss. Her delayed heavy punishes early dodges: wait for it to actually come down. Her fast blade chains need a dodge on every hit. Dodge her lunge, or parry it if you're already close. Get out of the spinning crimson rings. Perfect dodges open her biggest Sha-Chi breaks. Find all five of her ribbons before the fight to unlock a third phase with Iron Fiend and Jade Dancer; keep both in view and hit every button cue in the final scene.
Drop: Wild Oriole Sword on the dock after the fight (missable); phase three adds the Fiend Saws, Fist Fragment: Core and Puppet No. 44's Eye. Verdict: S tier. Three phases, all different, all great.
#2: Zuo Shang, true final boss (The True Long)
Where: Mount Soulrend, through the gold portal atop Soulrend Cliff. Optional (true-ending route only, so it's missable).
How to beat it: Phase two, The True Long, fills the arena with golden attacks, so movement beats parries. Stand still to parry the golden sweep and you're erased. Sidestep the golden beam along the water, dodge through the expanding golden ring, keep moving under the falling gold blades, then win the blade lock.
Drop: Aureate (main weapon), Broken Long Body, Radiant Heart, and the true ending. Verdict: S tier. The biggest spectacle in the game.
#1: The best boss in Phantom Blade Zero
Number one is the fight that hunts you across the whole game: The Gold-Masked One. He's optional, and you fight him five separate times at the Long Pillars.
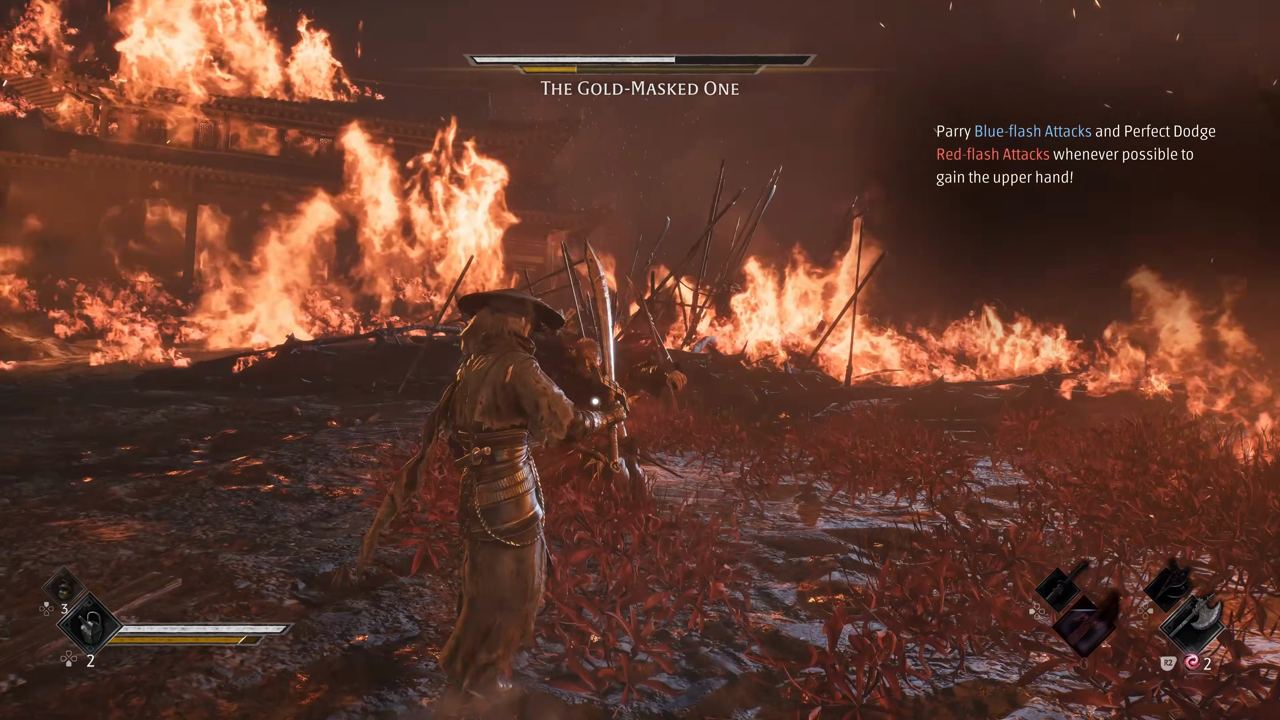
How to beat him: he only takes real damage after a perfect parry, a perfect dodge or a Sha-Chi break. Block his red grab and the lethal follow-up lands, so dodge it every time. Every fight is a parry exam with sword and polearm strings: parry blue, dodge red, dodge the grab, and never get greedy after a single parry. Bring the Outlaw Warblade so every hit on him heals you.
| Fight | Where | Reward |
|---|---|---|
| 1 | Weeping Creek Valley, Long Pillar cave (Long Pillar Overlook) | Counterstrike Bracers |
| 2 | Crimson Forest, Long Pillar by the waterfall north of the burial grounds (he's faster now) | Miraculous Scabbard |
| 3 | Meigu Lake, Midlake Long Pillar Dock | Quenched Flaming Grip |
| 4 | Meigu Lake, the Phantom Illusionist Ruins secret realm | Bloodline Awakening progress |
| 5 | Mirage Estate, the last Long Pillar (his fastest version) | Completes Bloodline Awakening |
Verdict: S tier, number one. Five escalating duels, a lethal grab that's always fair, and pure skill with nothing to cheese. Most players rank him the hardest boss in the game, and beating all five is the best feeling Phantom Blade Zero has.
The full tier list board
Disagree with the order? Tell us your number one in the comments on the video. For the gear these bosses drop, see our ultimate weapon, Phantom Edge, accessory and skill tier list in the related guides below.
Frequently asked questions
How many bosses are in Phantom Blade Zero?
There are 56 distinct bosses across about 62 fights. The extra fights come from repeat encounters: The Gold-Masked One five times, You Loong twice and The Hunt twice.
What is the hardest boss in Phantom Blade Zero?
The Gold-Masked One. He only takes real damage after perfect parries, perfect dodges or a Sha-Chi break, and his red grab leads to a lethal follow-up. Wu Lengshuang, Hua, Deadly Betrothed and Yubi are the hardest of the rest.
Which bosses do I need for the true ending?
Zhu Yuan, the Searing Blade (bottom of the Pangzhen Sha-Chi Tower) and Bi Feng, Giant Saber Commander (Cavern Passage bell, Mountain of Imprisonment) are optional bosses that the true ending requires. Meet the requirements and a gold portal opens atop Soulrend Cliff, leading to Zuo Shang.
What is the easiest boss in Phantom Blade Zero?
The Prologue duel with Zuo Shang is scripted and ends in a cutscene. Of the real fights, the scarecrow acolytes (Guhe, Lei Ting, Yanru) and Grief-Stricken Jin are the simplest.
Do boss phases checkpoint in Phantom Blade Zero?
Yes, on multi-phase bosses such as Blaze, Bai Chilian, Lei Dang and The Hunt, dying in phase two usually restarts you at phase two.
How do I unlock Mu Xiaokui's third phase?
Interact with all five of Mu Xiaokui's ribbons in the Village of Lu before the boss fight (her Young Mistress tale). Win the extra phase against her, Iron Fiend and Jade Dancer to get the Fiend Saws. It's missable.
Can you farm boss drops?
No. Enemies and bosses don't respawn, so each drop is a one-time reward per playthrough.
Every guide here comes from a vAnother Level video.